PRESS RENTALS
BEFORE YOUR PRESS RENTAL
shop rules
-

INK KNIVES
You need one ink knife per color. Avoid cross-contaminating ink colors.
-

Weighing Ink
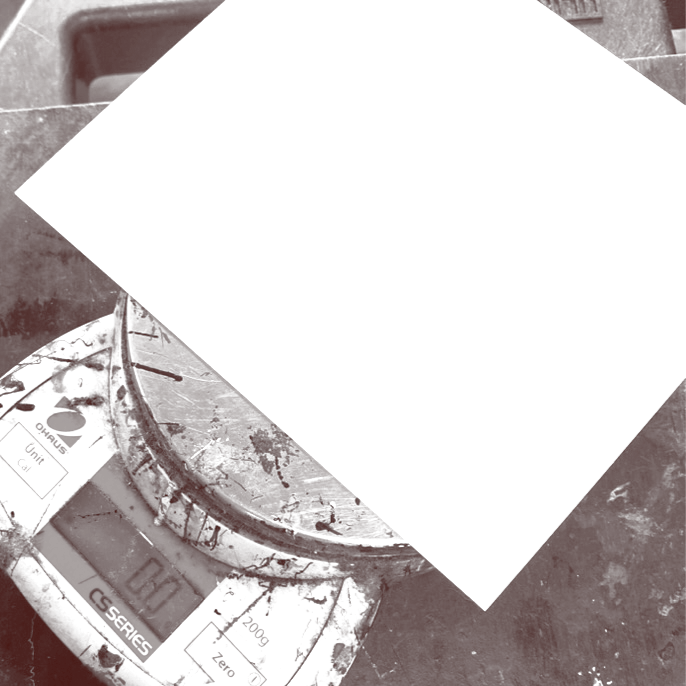
Never put in right on the scale, always use a peice of paper as your palette. Just don't forget to tare before adding ink!
-

CLEANING THE PRESS
Do not use hand towels or blue shop rags to clean the press. Only use the gray rags located in the basket on the ink-mixing cart. To dispose of a dirty rag, place it in the red or gray bin under the other Vandercook (219).


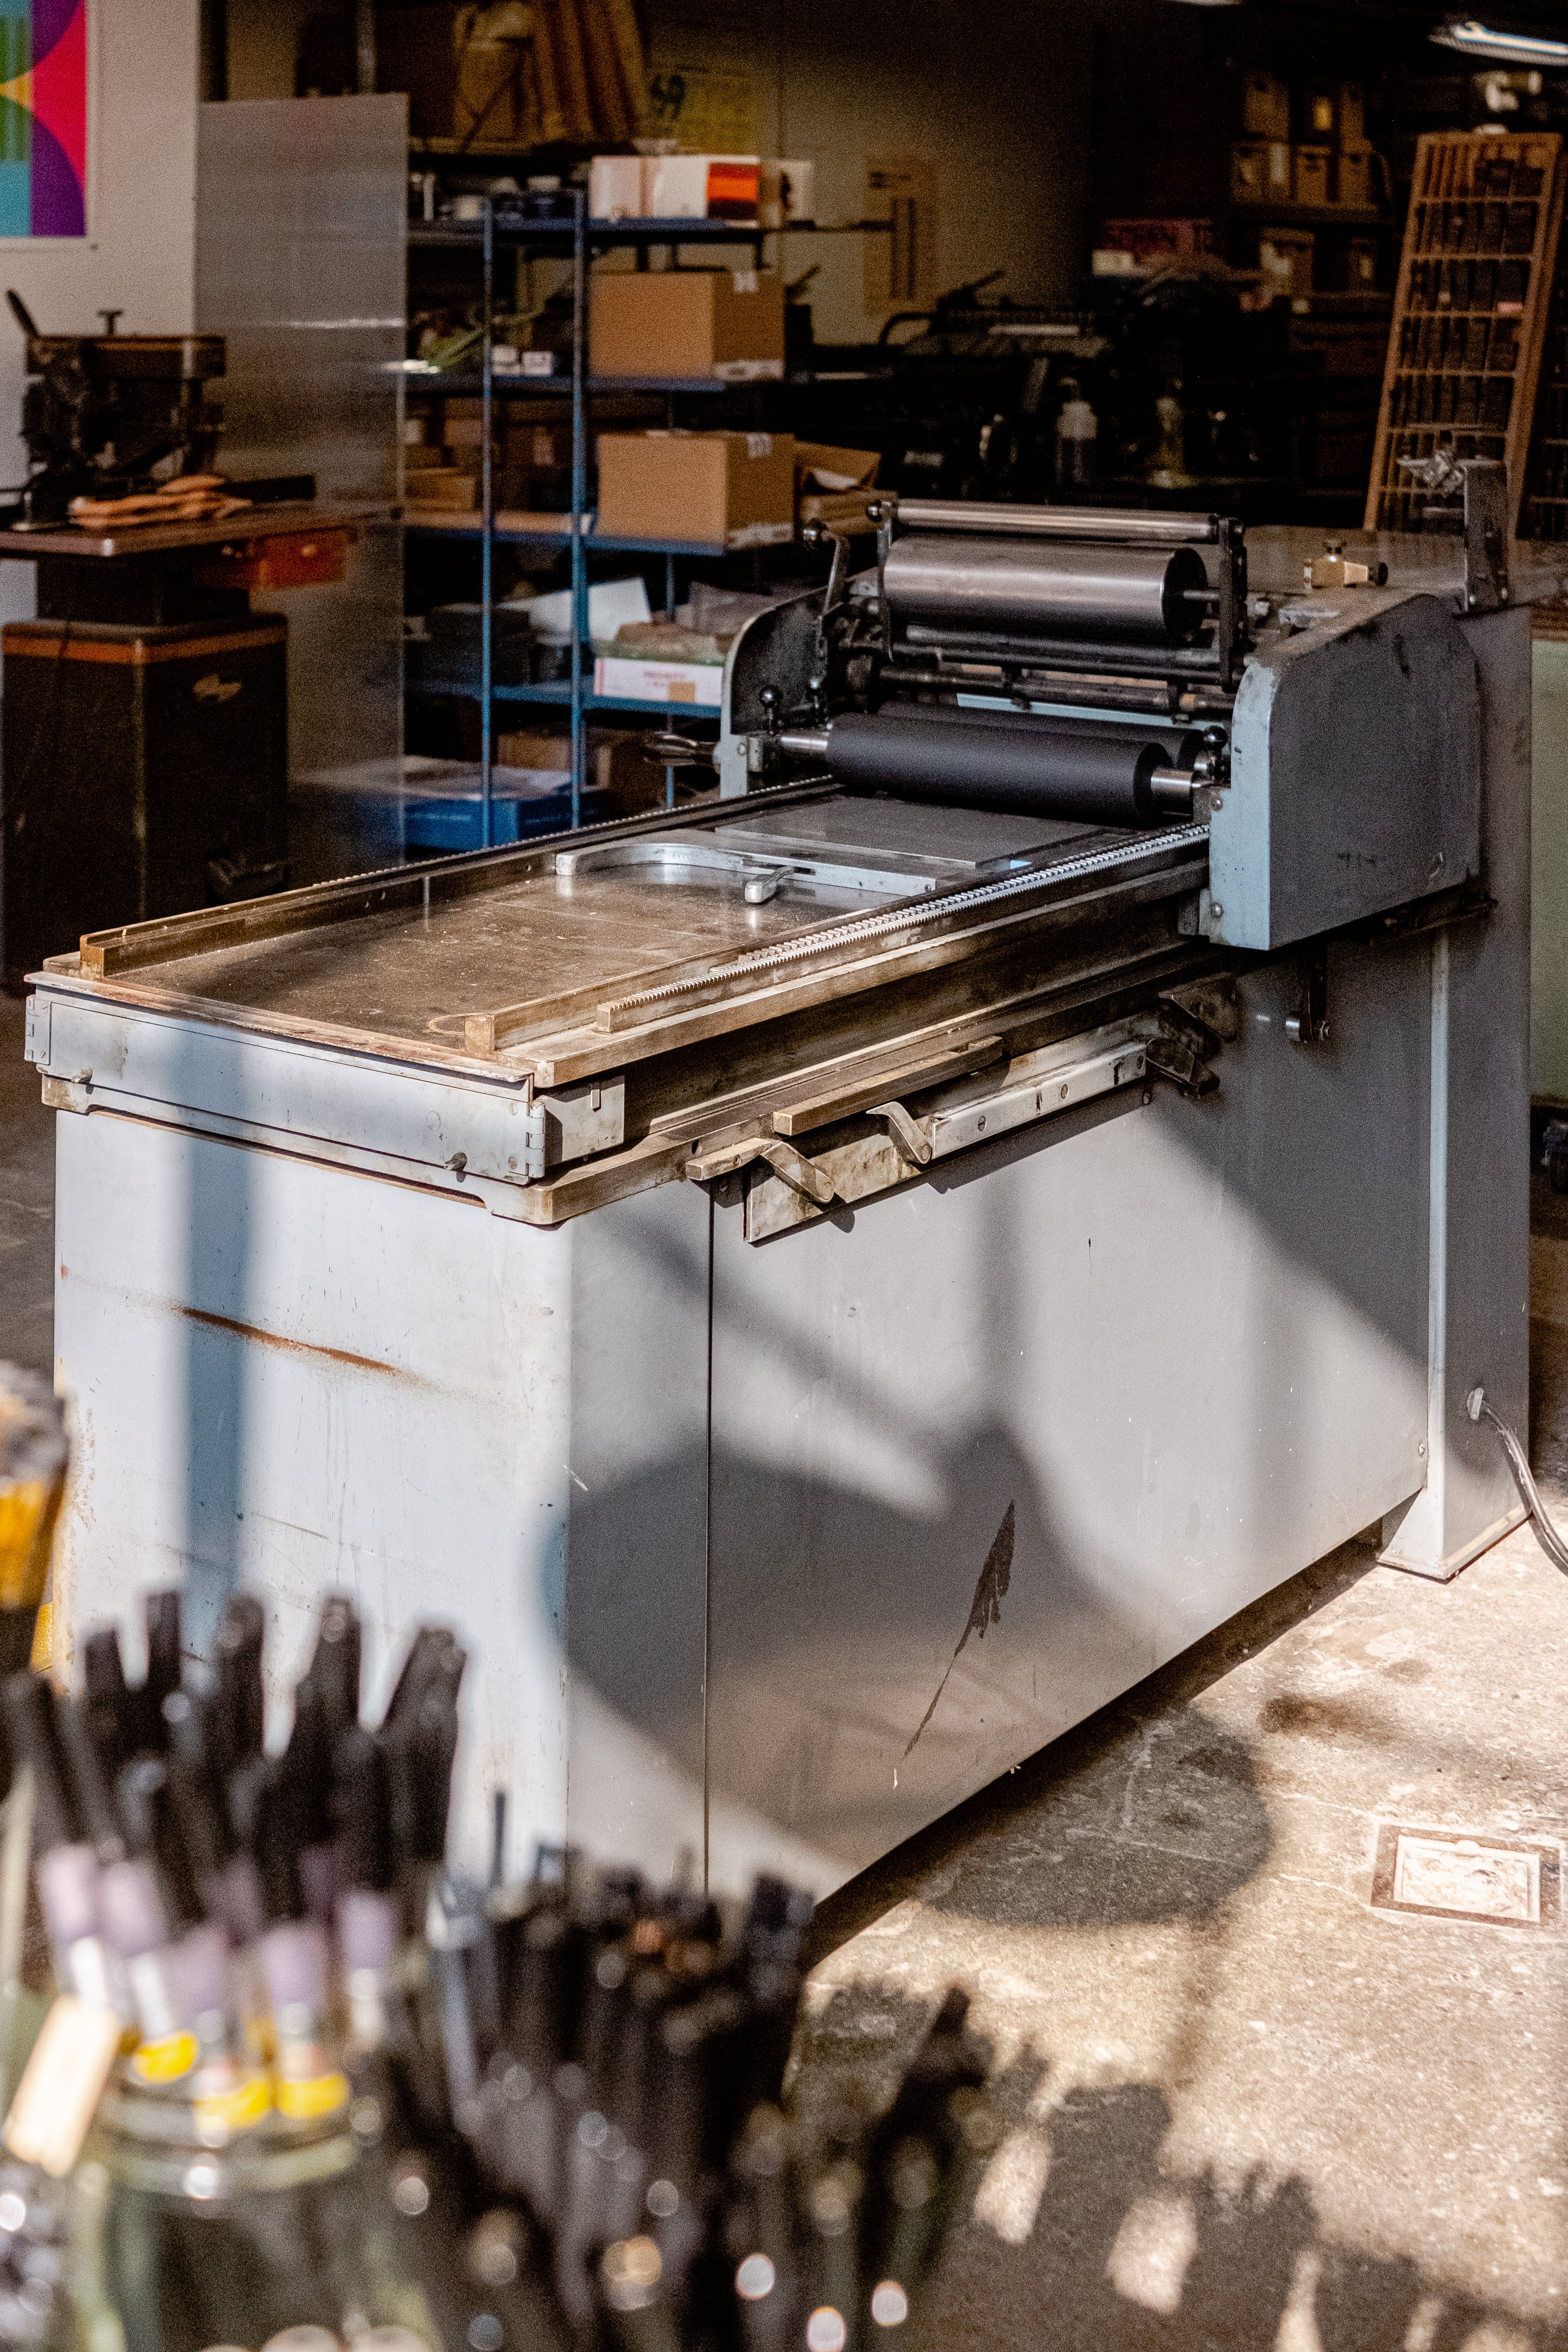
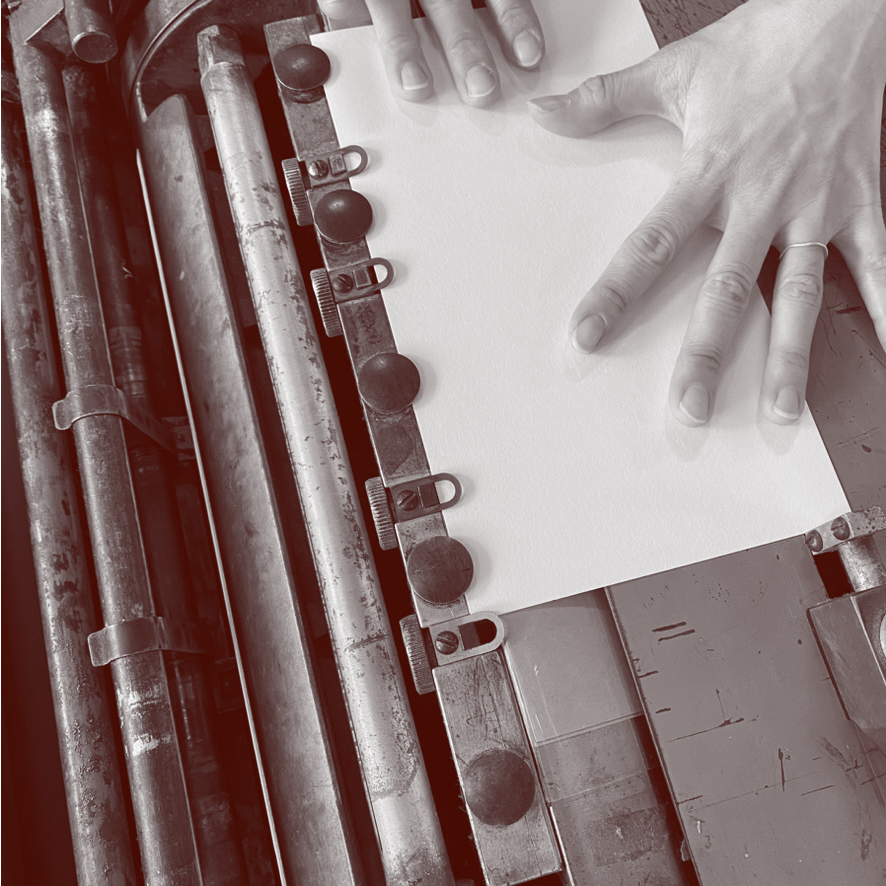
setting up the press
STEP ONE
CHECK THE PACKING
Packing controls the impression depth. Ensure the paper's edge is flush where the packing meets the plate. There should be no ghost image on the paper, and the paper should sit flush with the guides and grippers.
STEP TWO
SET UP THE PLATE
Take a sheet of paper and align it with the deadline (the thin line between the motor roller and the base, which shows where the grippers will land). Stick the plate to the base, ensuring it’s centered relative to your paper. Use the grid to align with your crop marks.

STEP THREE
CHECK THE REGISTRATION
Run a sheet of paper through the press with no ink. Use a pica stick to make sure the crop marks are evenly spaced from the paper’s leading edge.
STEP FOUR
FINALIZE SETUP
Once everything is aligned and you're happy with the impression, you’re ready to ink up!
Inking the press

STEP ONE
CHOOSE YOUR INK COLOR
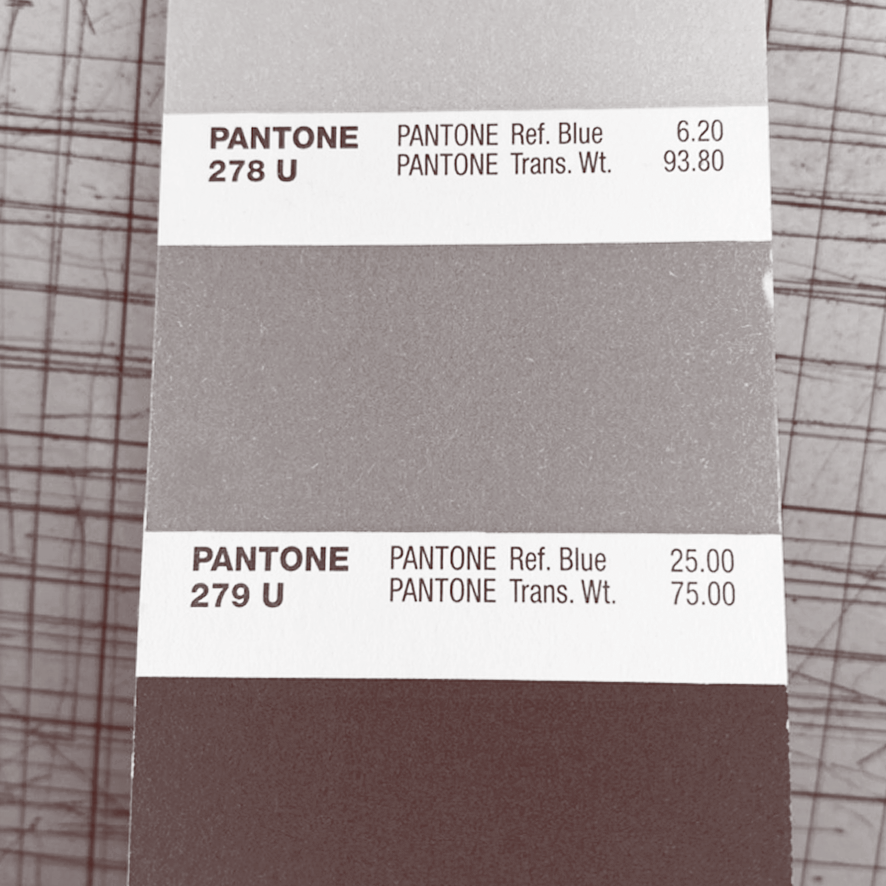
Pick a color from our Pantone book. Keep in mind that the inks we use are translucent, so the color of the paper will affect the final result.
STEP TWO
MIX THE INK
The color recipe is listed below each Pantone swatch. The numbers next to each color add up to 100. For mixing, we use grams, so divide each value by 10 for your ratio. For example, Rubine Red 78.9 becomes 7.89 grams, which rounds to 7.9 grams for our scale.
STEP THREE
WEIGH THE INK
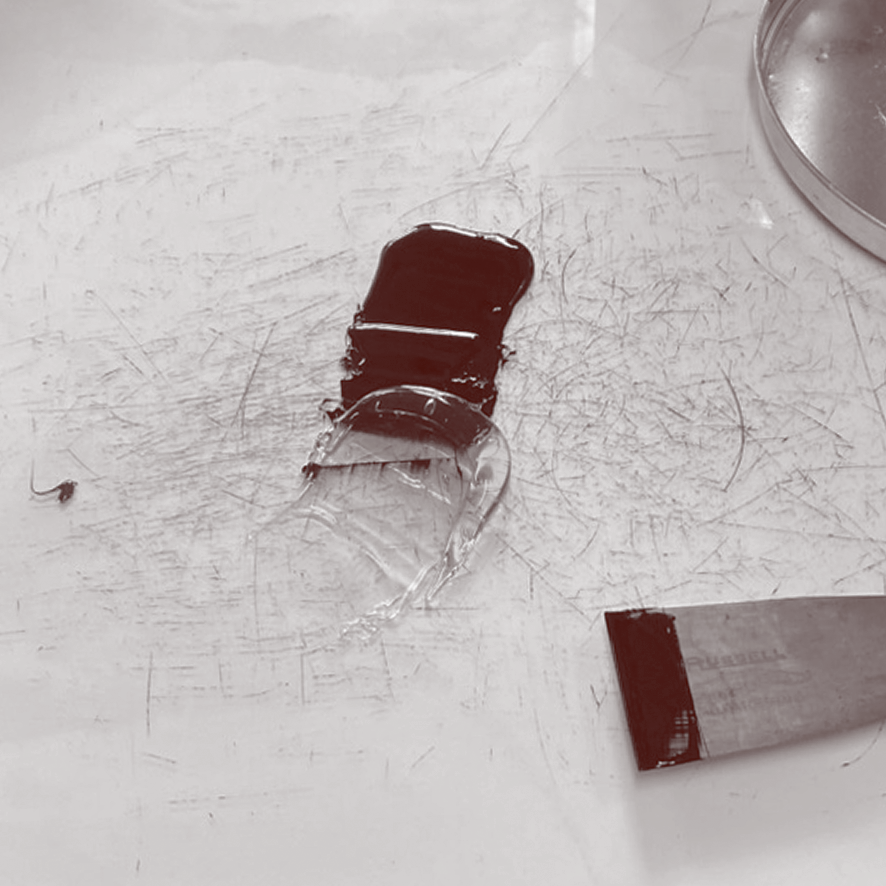
Zero out the scale with a piece of paper on it. Use the palette knife to scoop ink and weight out on the scale according to the new ratios. Be sure not to cross-contaminate the colors, and use only one palette knife per color.
STEP FOUR
MIX THE INK
Once you have the correct amount of each color, scrape the ink onto the glass mixing panel and begin mixing until uniform.
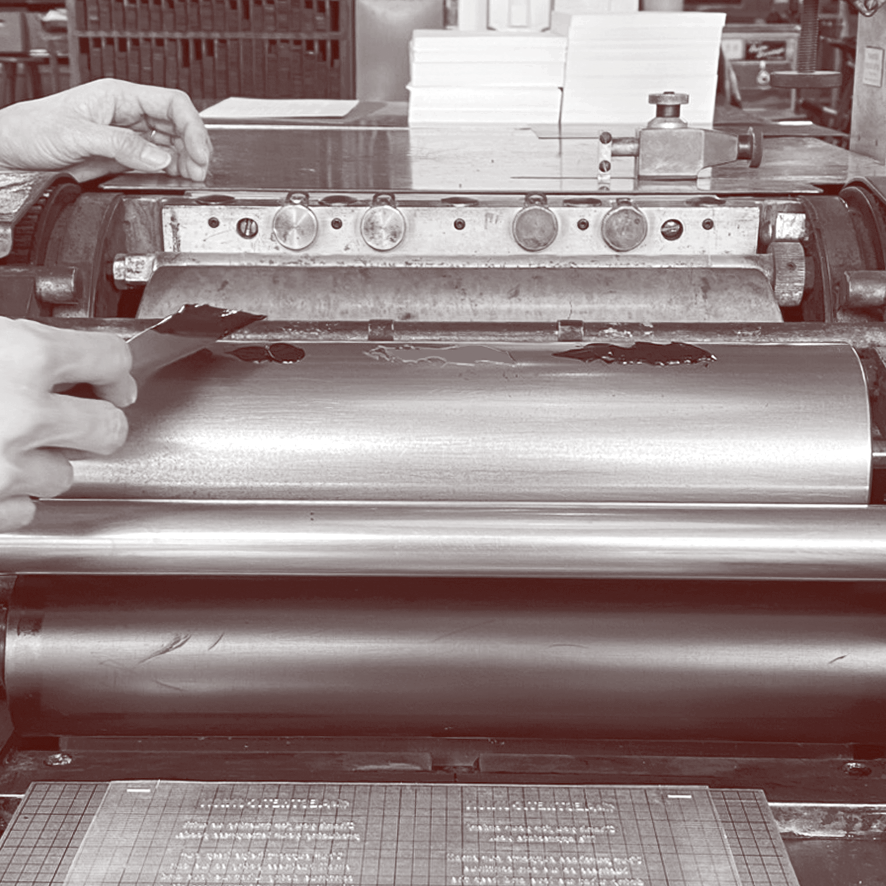
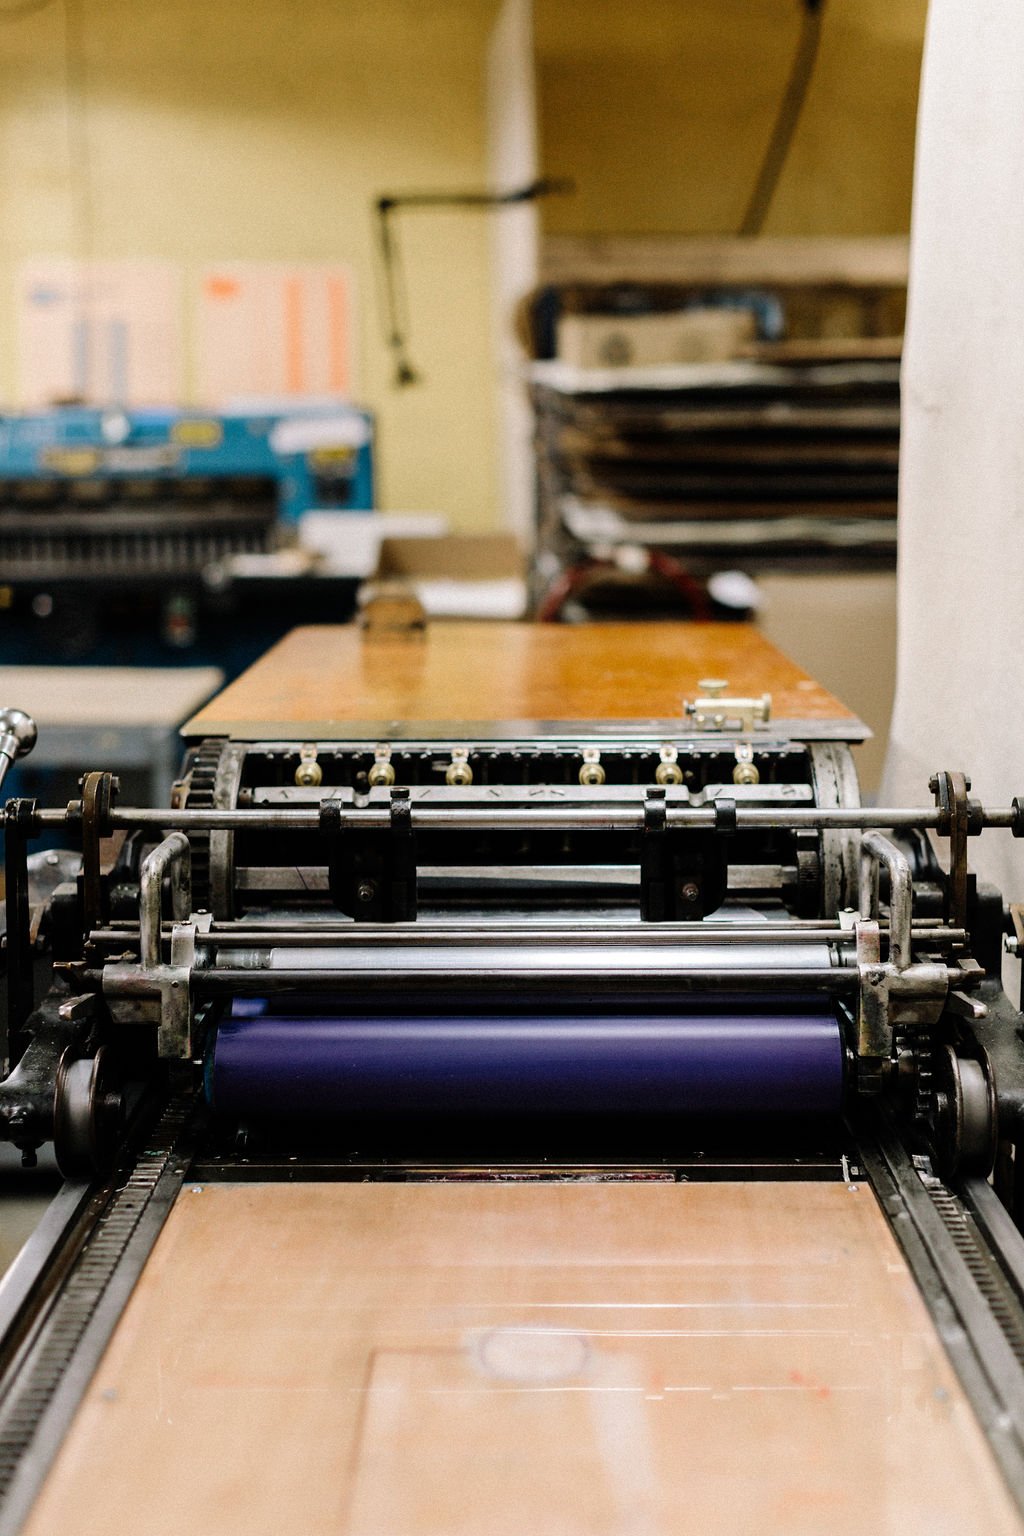
STEP FIVE
APPLY THE INK
When the ink is fully mixed, apply it to the oscillating roller. Be sure the roller is either lifted or not spinning before you ink. Use your palette knife to spread the ink evenly across the roller. We recommend starting lighter and adding more ink as need. If you find that you’ve applied to much ink, adjust the ink density.
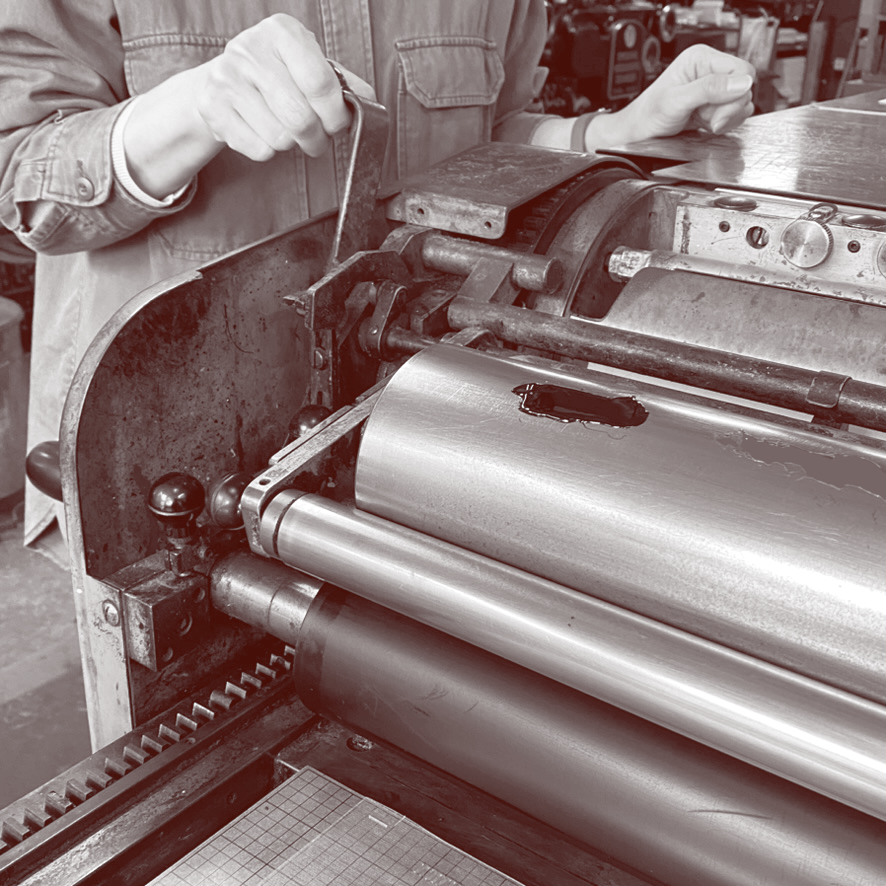
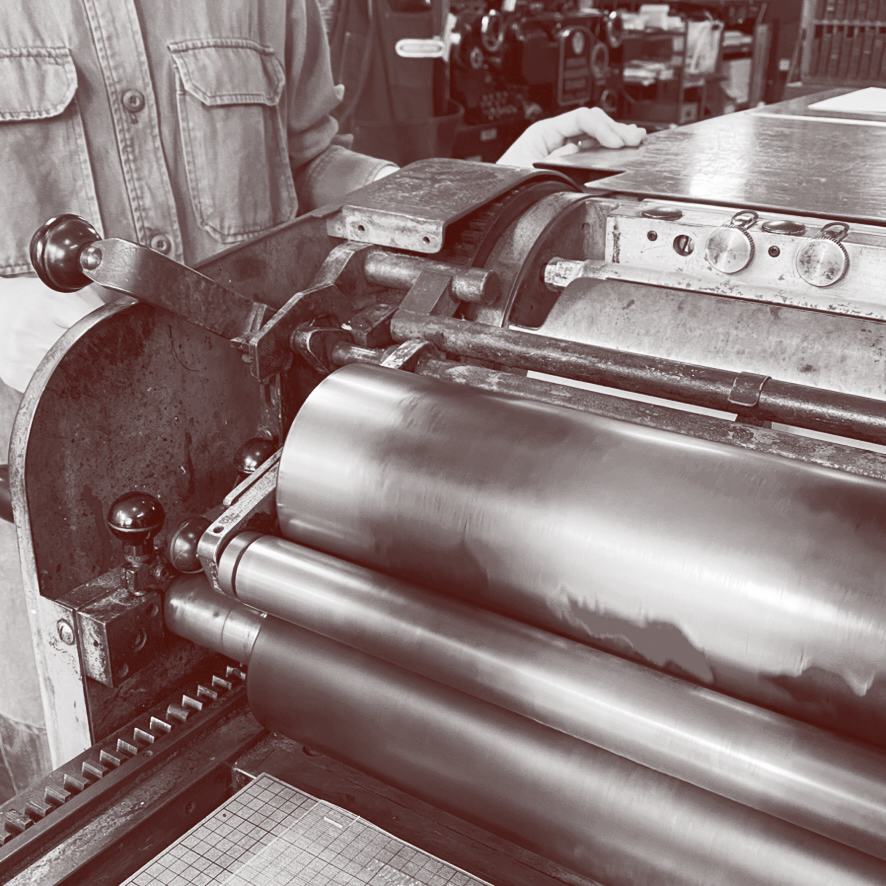
STEP SIX
MILL THE INK
Set the rollers down and turn on the press to mill the ink. Once the ink is uniform across the roller, you’re ready to print!
STEP SEVEN
ADJUST INK DENSITY
If the ink is too heavy, roll the cylinder forward and clean the motor roller with a rag and alcohol. Do a test print and repeat until you achieve your desired ink density.
finally, you can start printing
LOAD THE PAPER
With everything set up, press the foot pedal and insert the paper into the guides and under the grippers. Release the pedal and start cranking! There should be slight resistance when you crank. If it's too difficult, remove some packing from the cylinder.
MAINTAIN REGISTRATION
To keep registration as even as possible, make sure the top guide is secure and insert the paper evenly and flush into the grippers.
cleaning the press
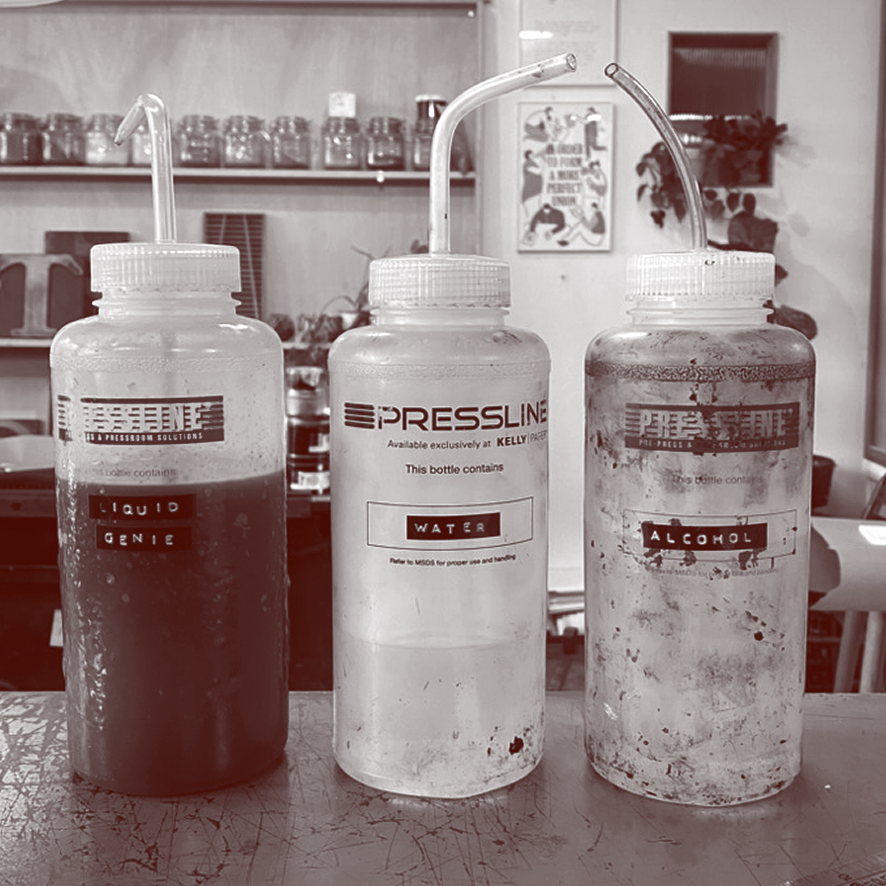
CLEANING FLUIDS
We have three pump bottles for cleaning:
- Liquid Genie (brown fluid)
- Water (clear with yellow spout)
- 99% Isopropyl Alcohol (clear fluid with plain spout)
These bottles are designed to be squeezed, not tilted. Always hold them upright and squeeze the body to spray from the nozzle.
CLEAN THE PRESS ROLLERS
Start by folding a press rag into a small square (about 3x3 inches). As you clean, refold the rag so the clean side is up.
ORDER OF CLEANING
1. Liquid Genie: apply directly to oscillating roller
2. Water: apply directly to oscillating roller
3. Isopropyl Alcohol: apply to rag, wipe down press